
That time I got really silly and thought, “I can build that myself for cheaper!”
The single greatest lesson I’ve learned for motivation in woodworking is this: don’t do it to save money. Do it because it’s how you craft exactly what you want.
My standing desk was great… until it wasn’t. I had bolted it directly to the wall and as long I only used my desktop computer it was fine. But it was shallow, I couldn’t write on it, and it was too low to use my laptop comfortably. And sometimes you just want to sit and play a video game.
So the quest began for an adjustable sit/stand desk. I had it all picked out, too. But the price rose, and I wasn’t sure what the top was made of and, and…
Before I knew it, my wife had found a frame that looked perfect. I just needed a top. Again, I searched other options, but eventually settled on building my own after a trip to my local hardwood dealer.
I’m publishing this now, and this page will see updates/edits because it’s still under construction, but I’m ridiculously happy with how it’s coming along.

Initial layout, just trying to visualize where I want grain to flow, boards I will cut and reposition, etc.

Getting closer to final layout. Keen eyes will see it is now five boards deep instead of the initial four.

Another view of final layout. Notice the ragged edge on the left? Some bark went a bit deeper than I anticipated, so I decided to make that the back edge of the desktop and use the natural edge as my cable passthrough for monitor power, USB cables, etc.
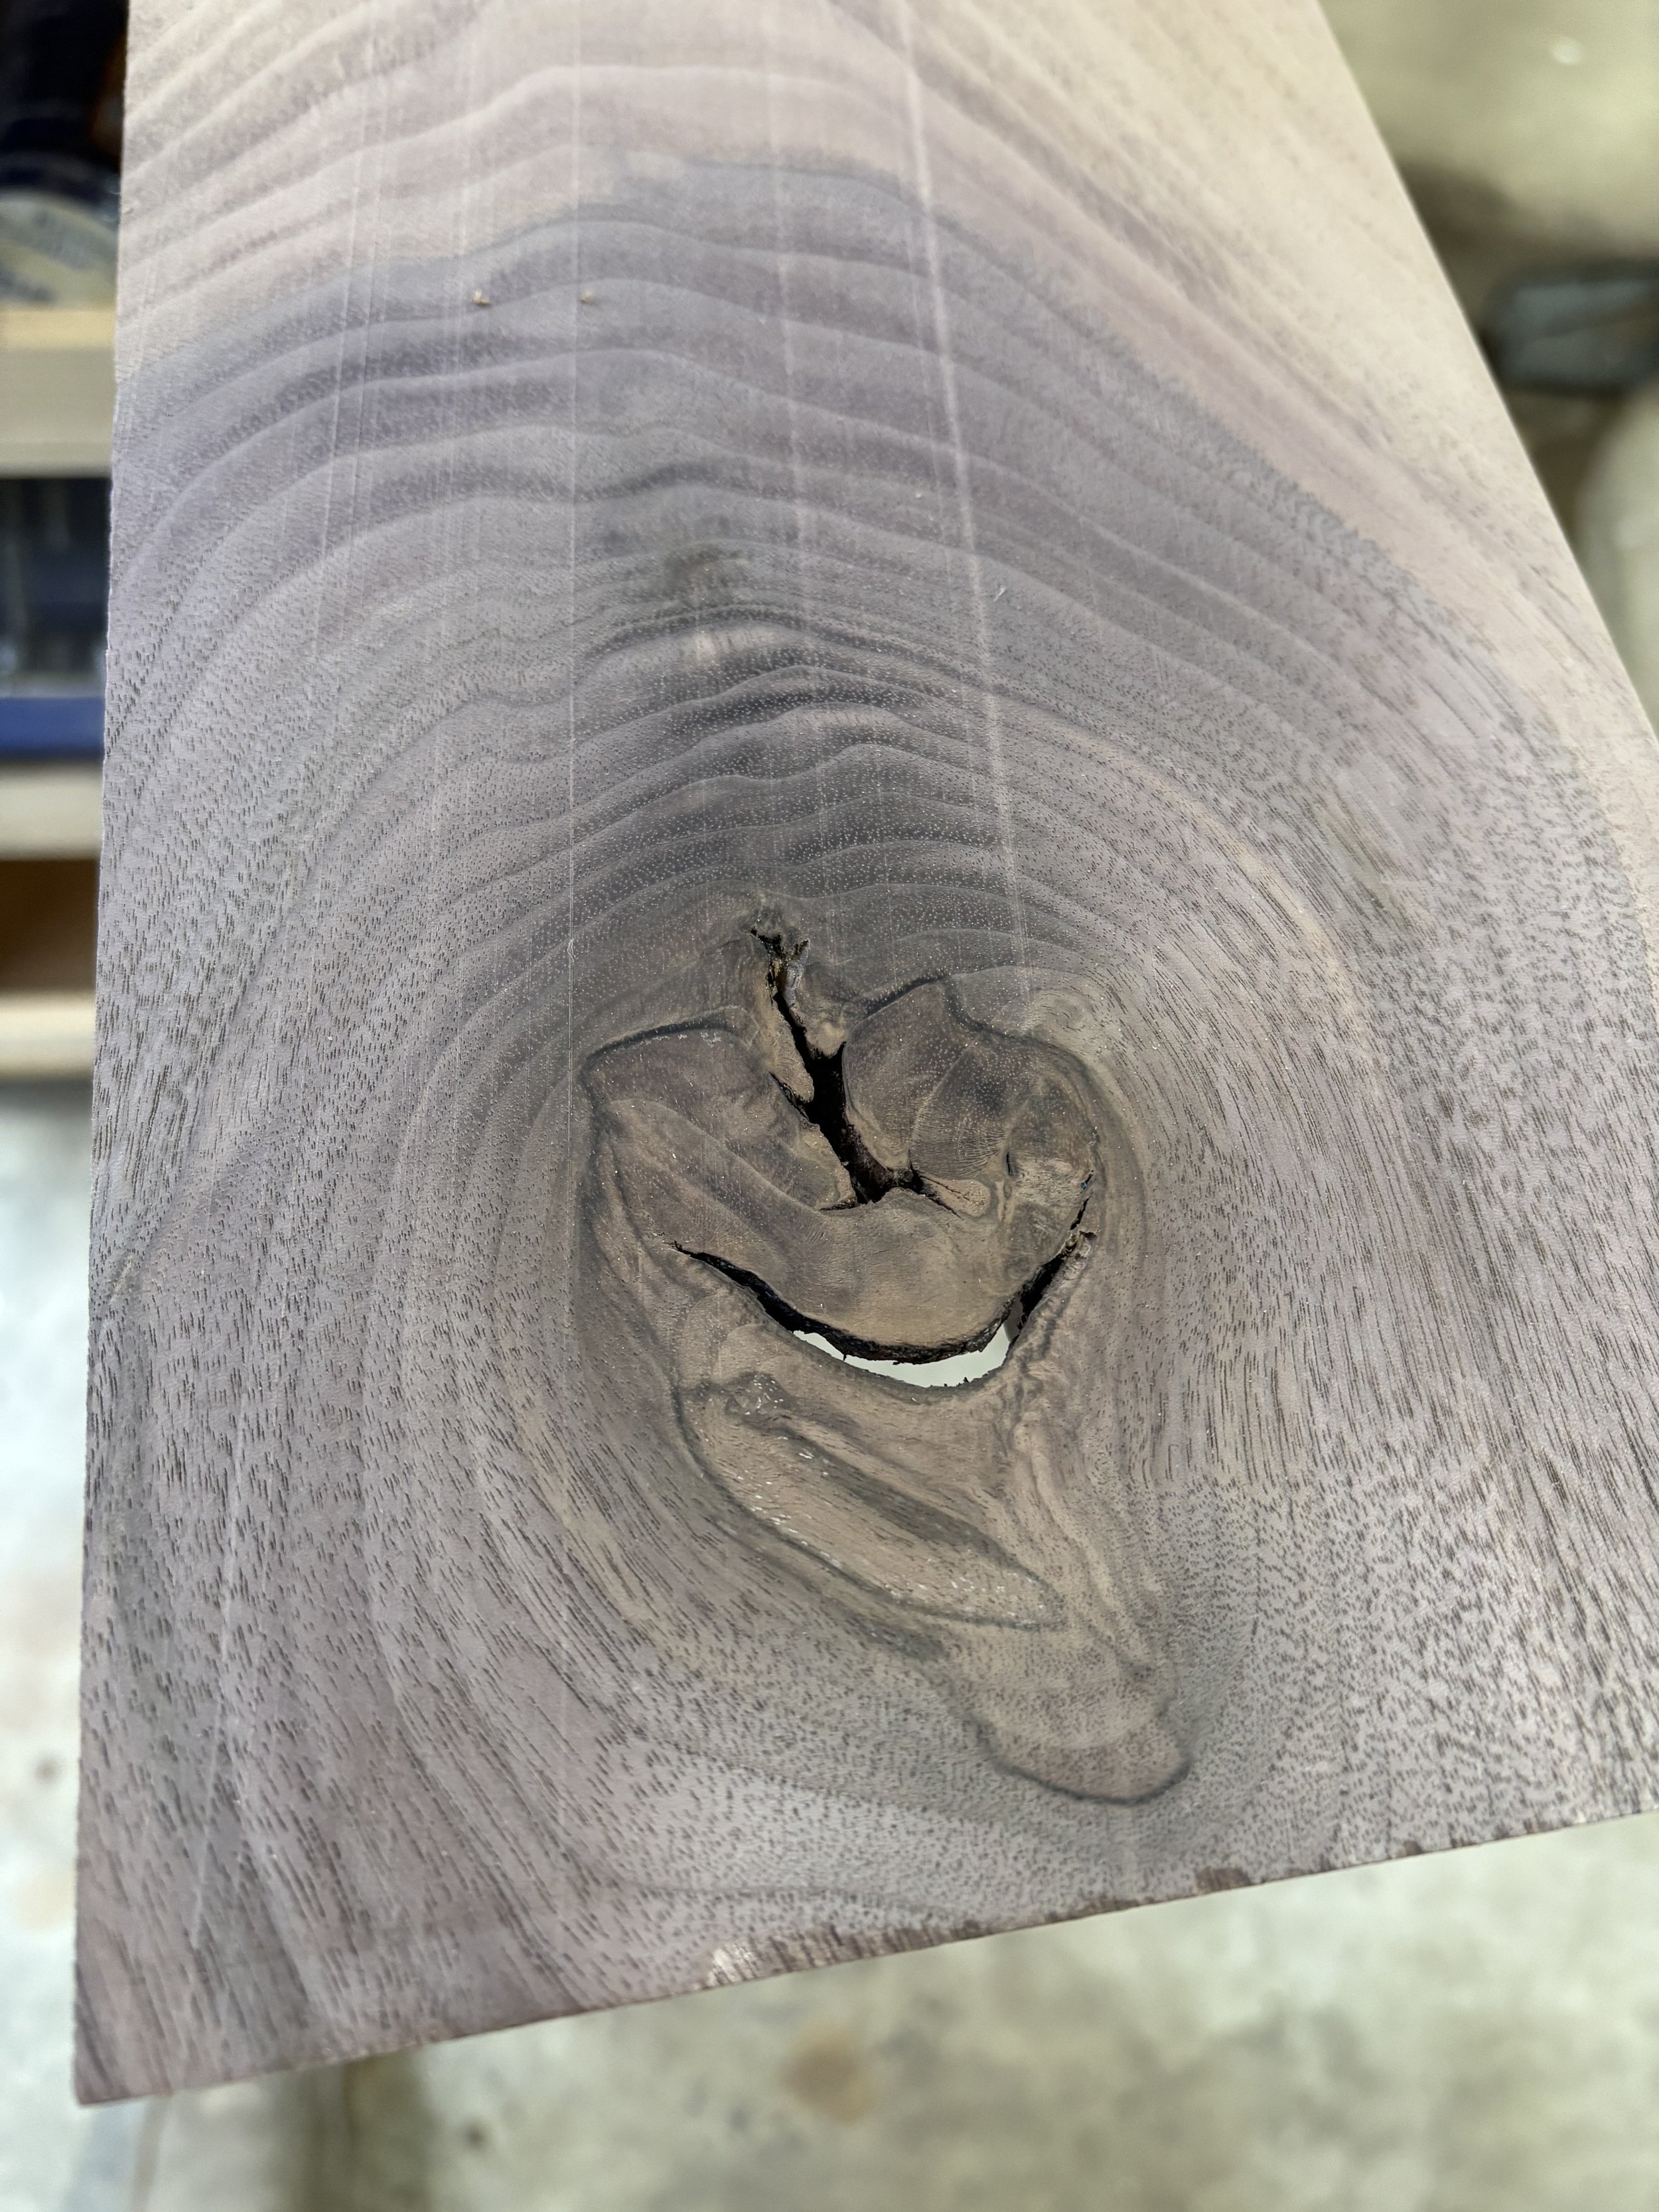
A knothole I decided I wanted to keep on my desktop. I'll flood this with resin from the other side.
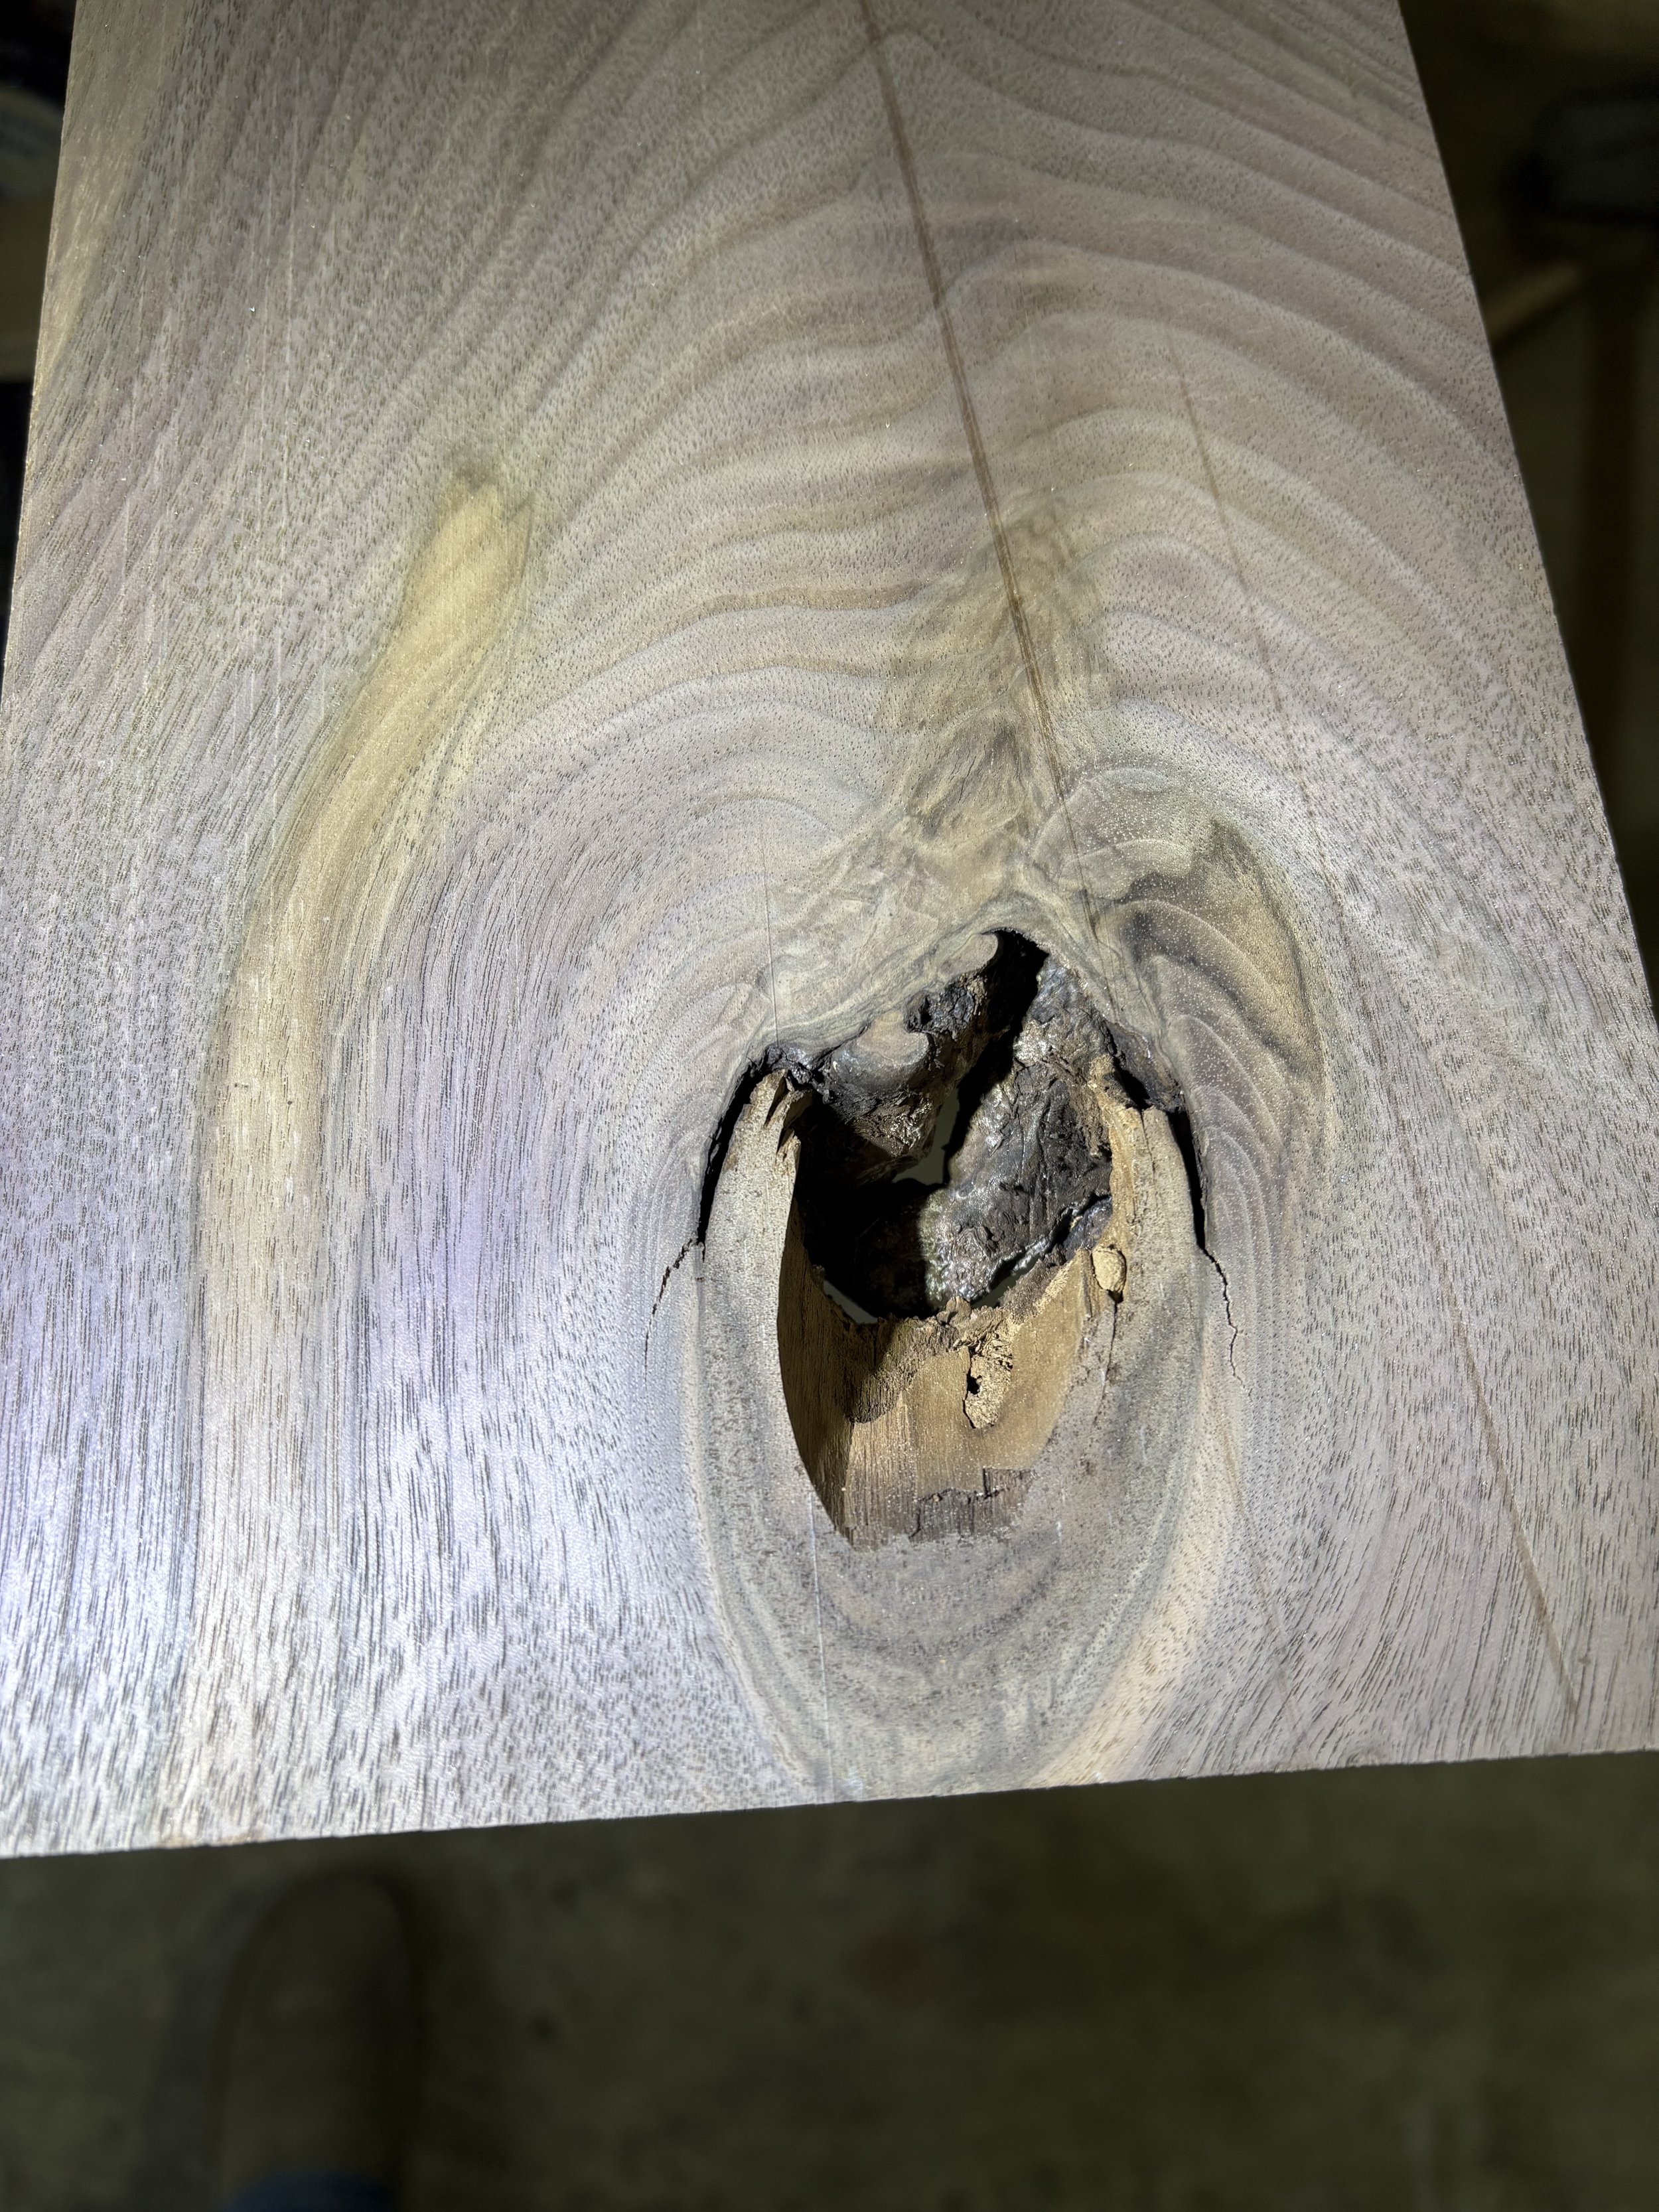
The backside of the knothole was cavernous. Digging out all the loose bark took a while.
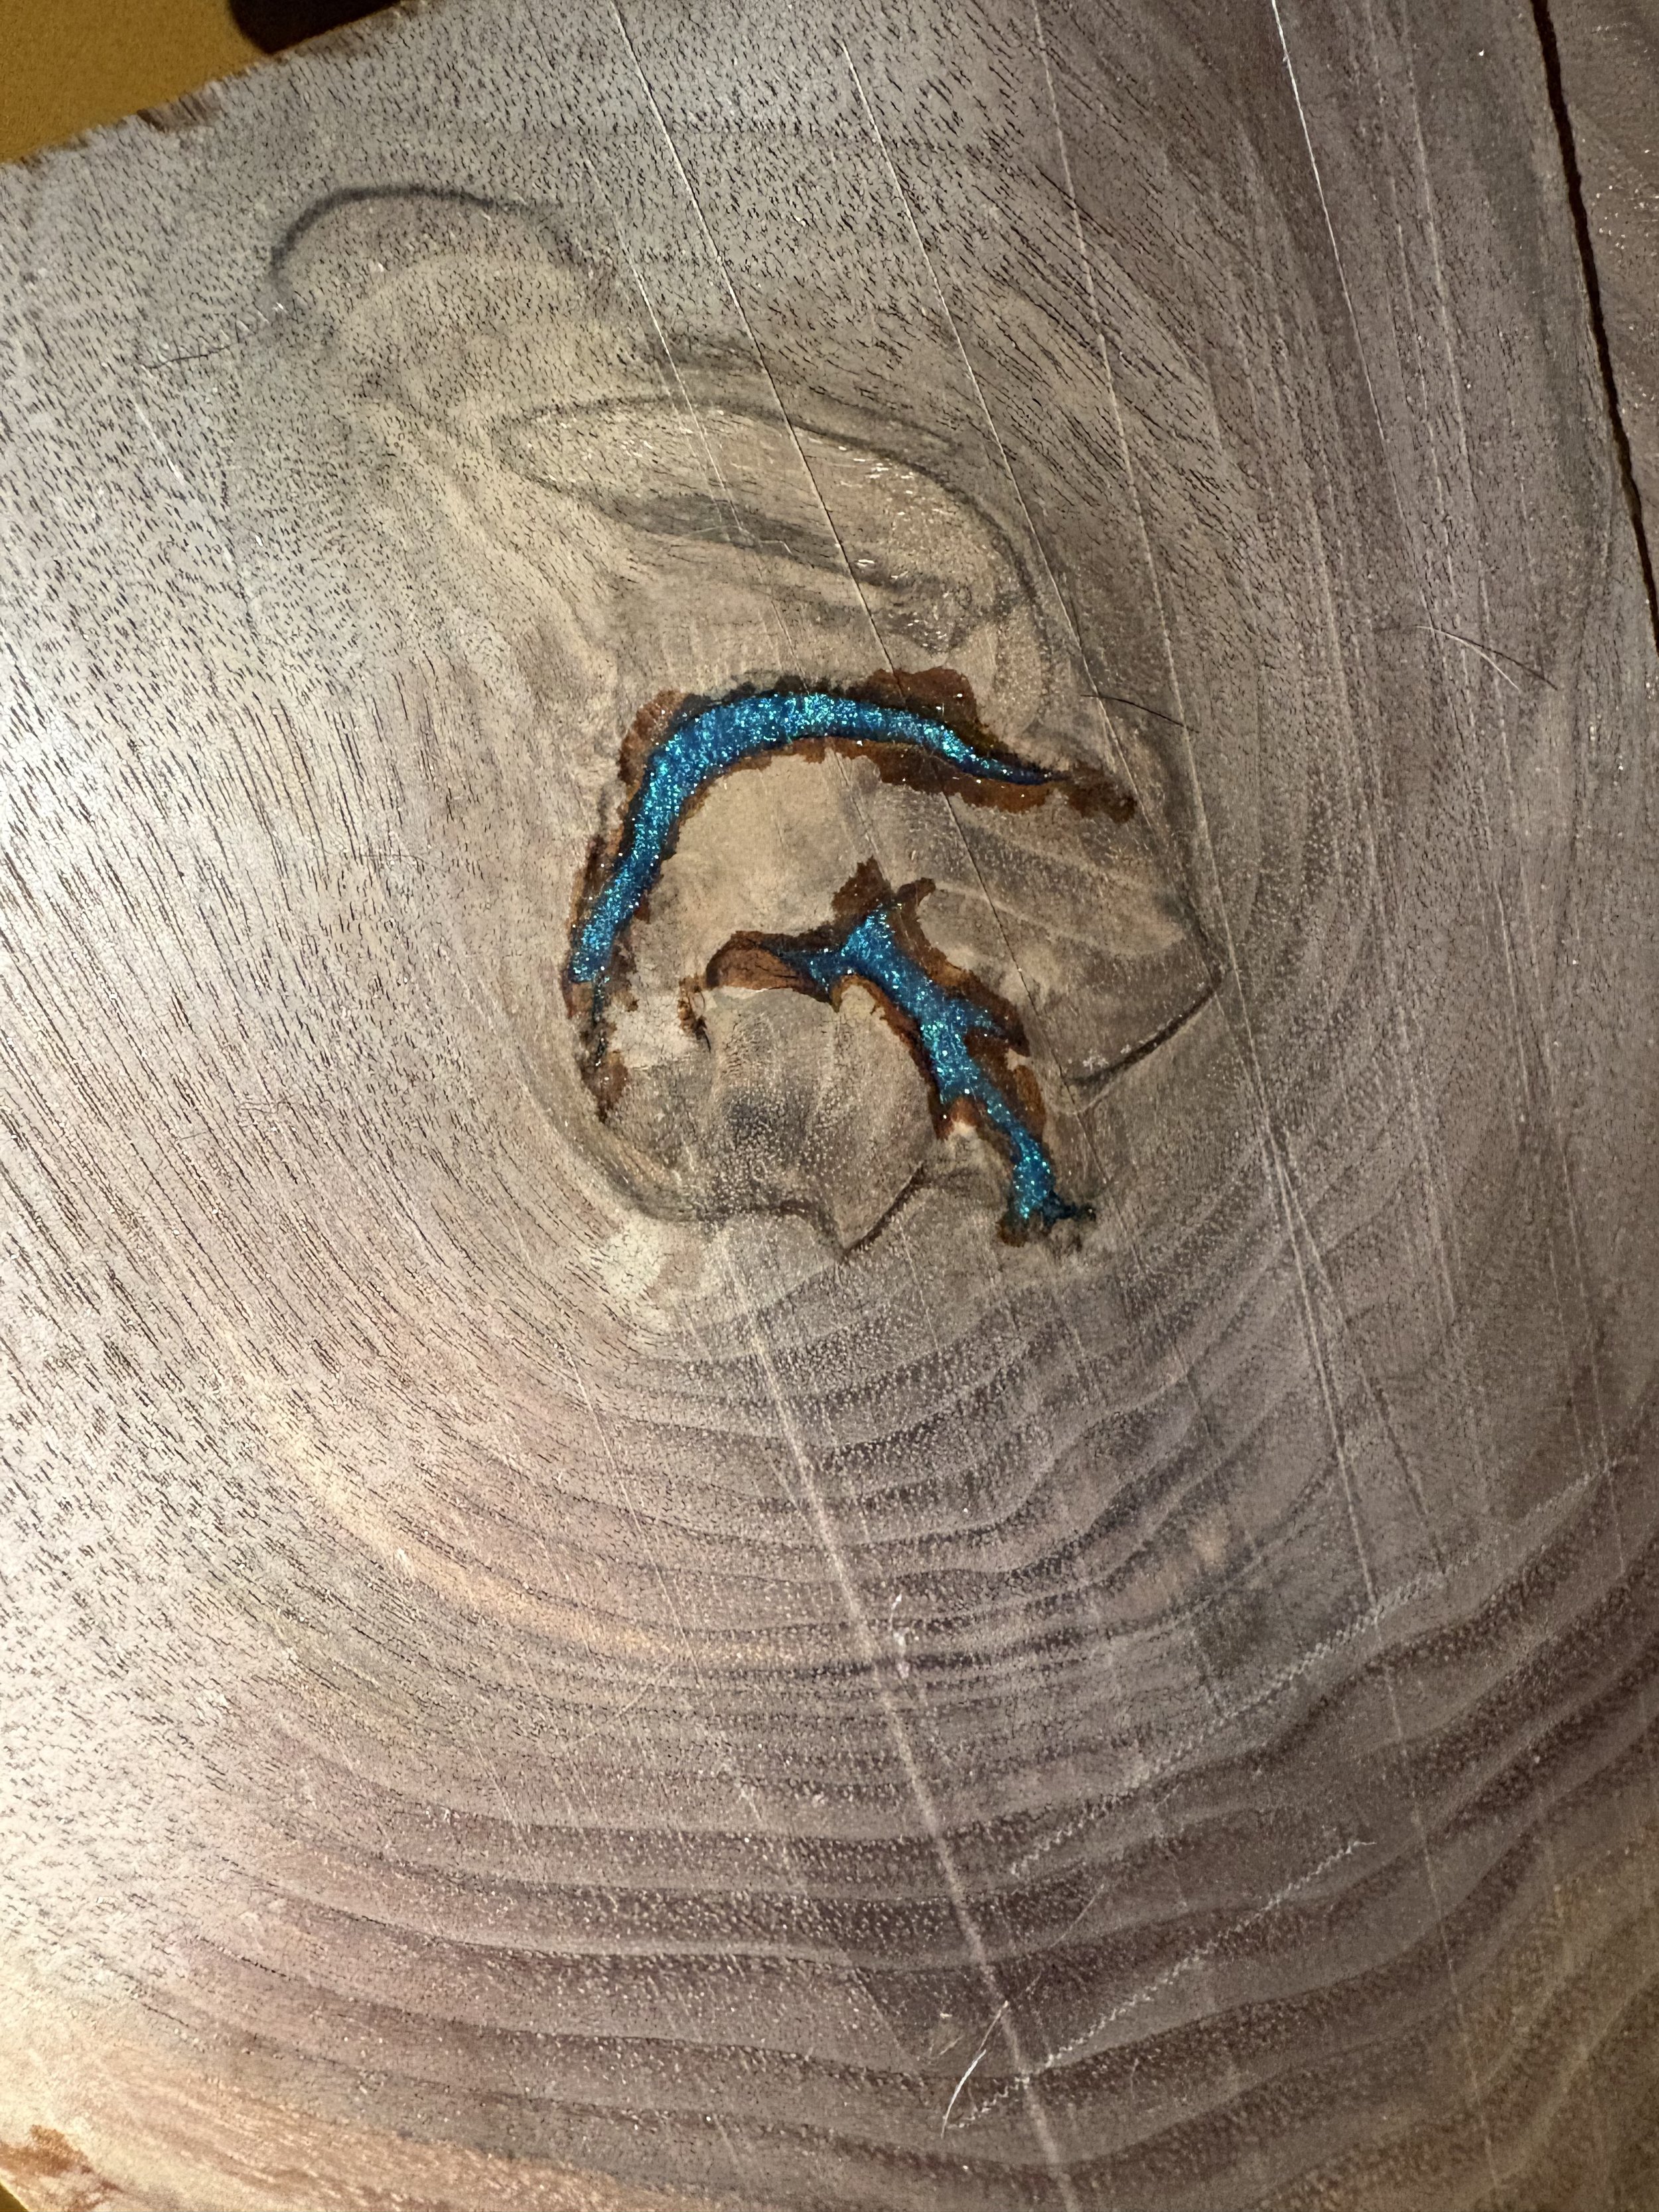
The first look at the resin. We sealed it off with packing tape, had this side face down, and poured in the resin from above.
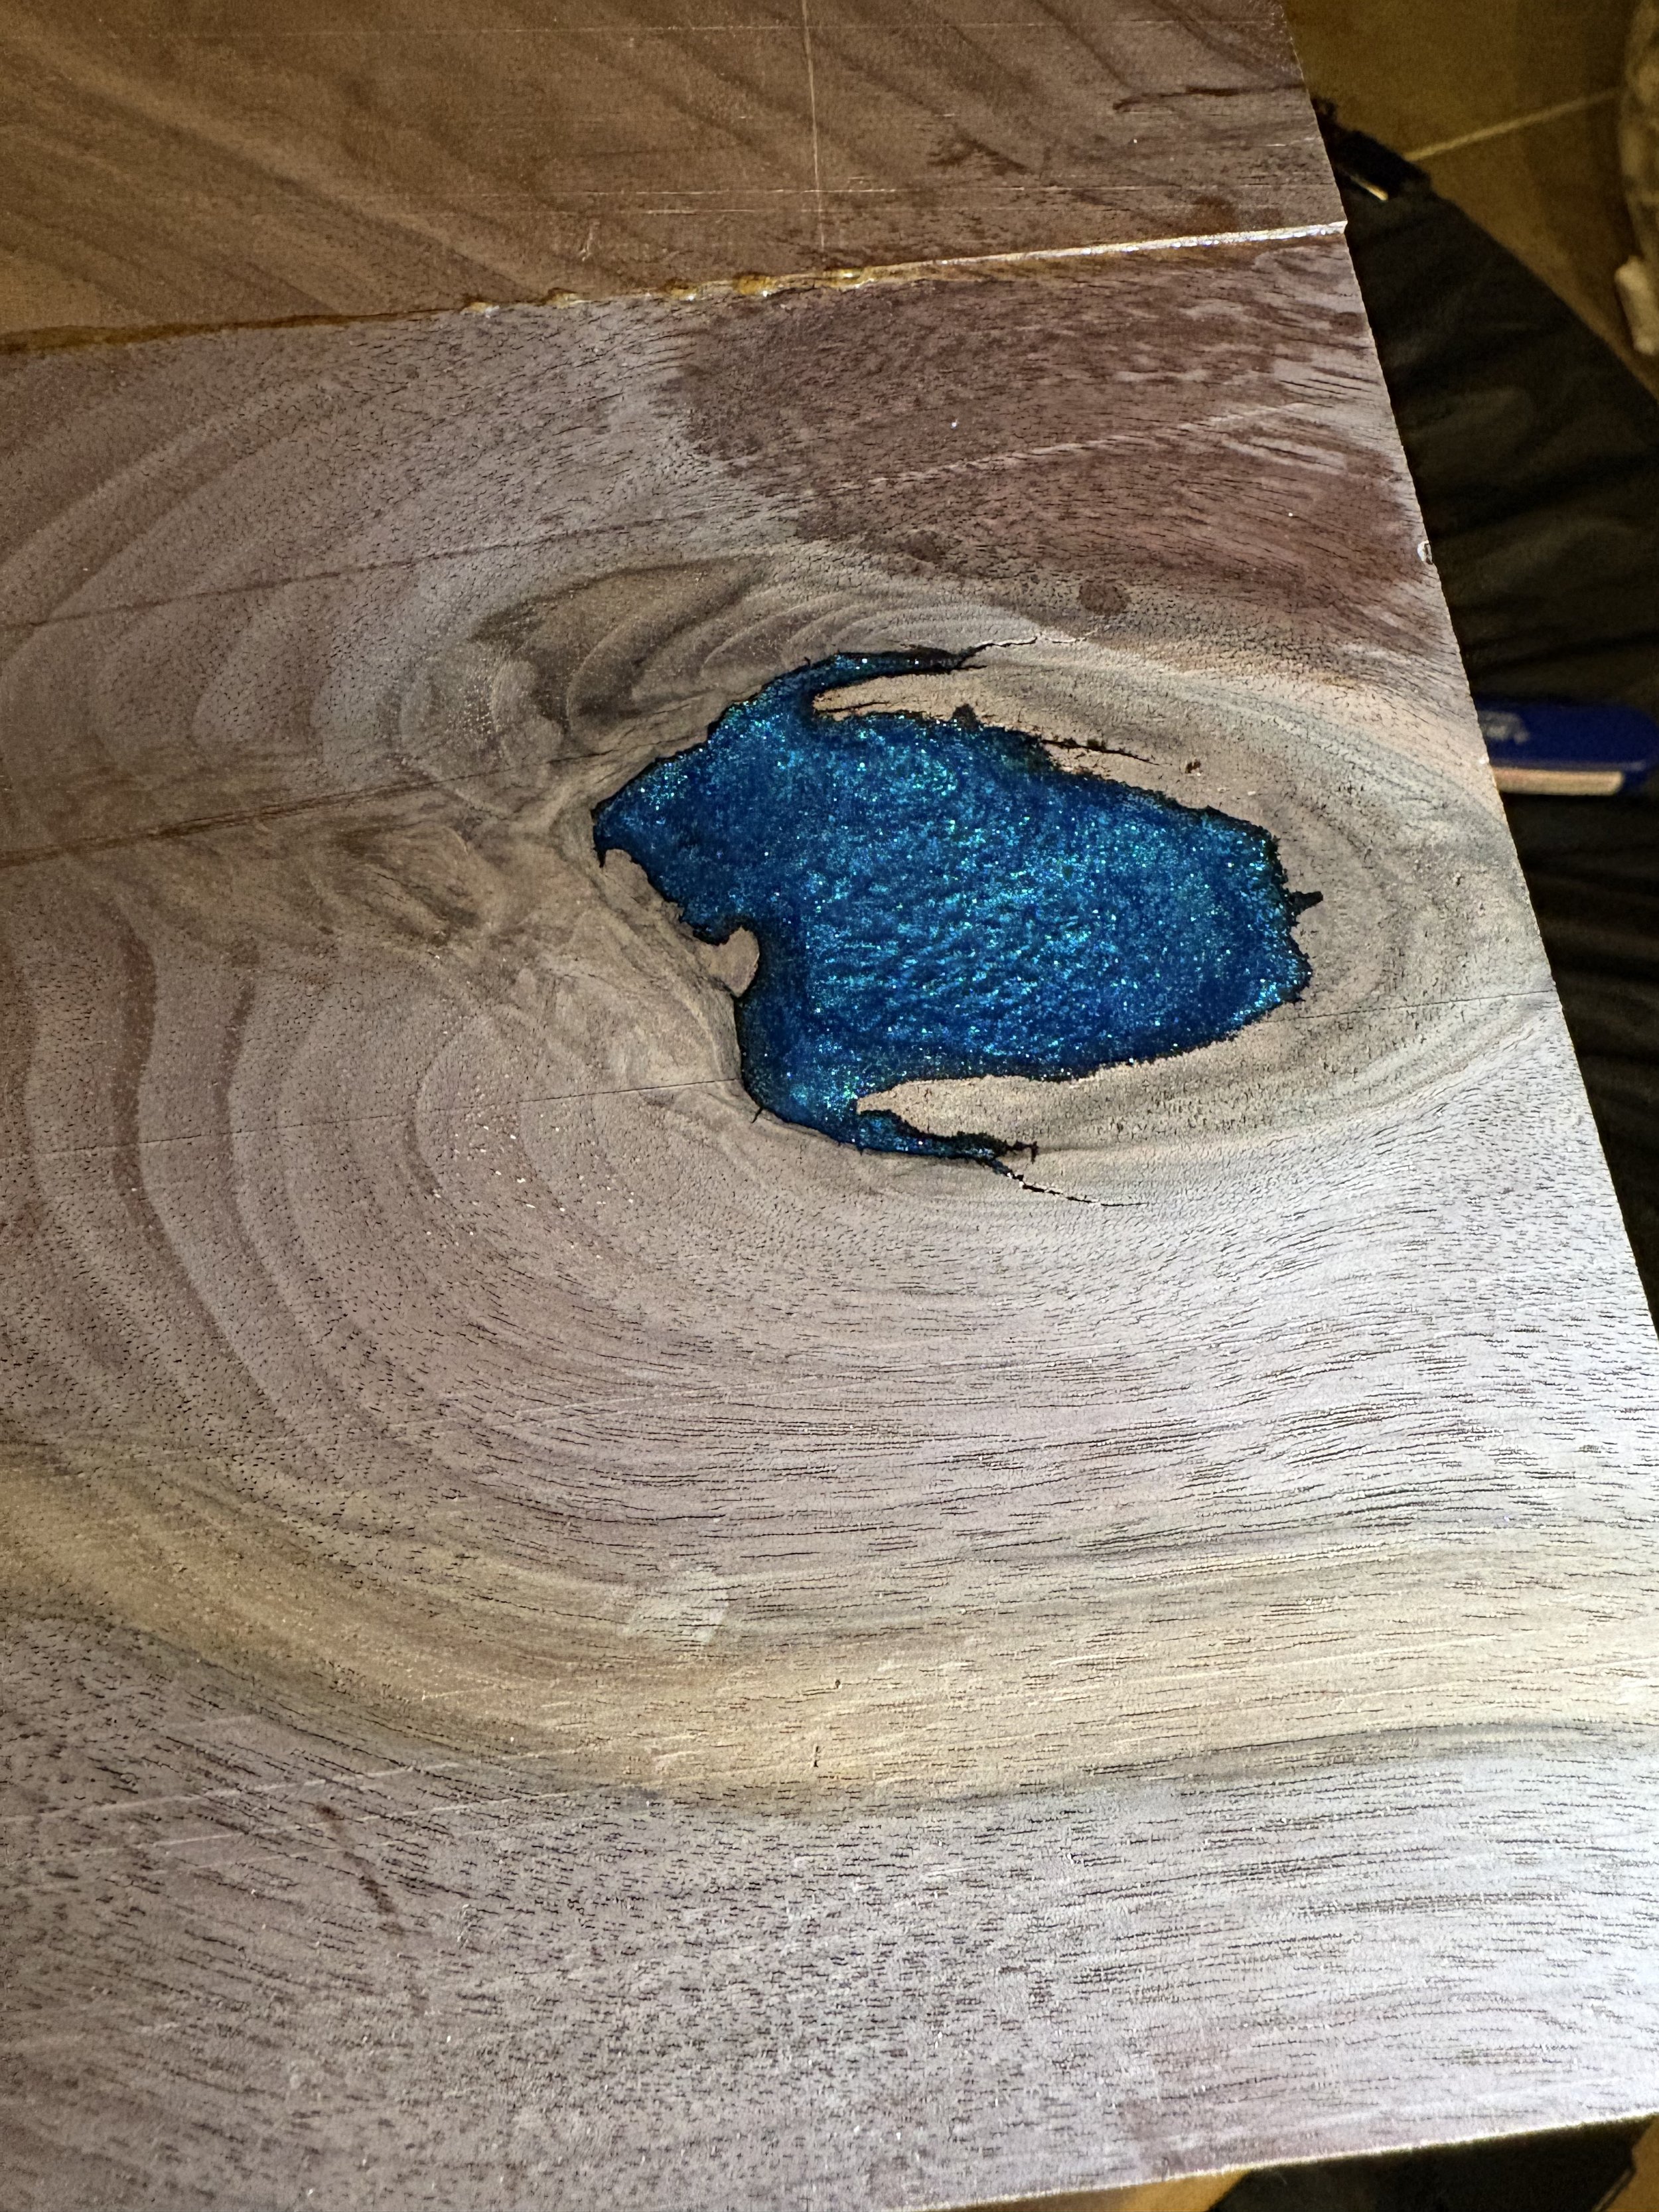
The resin was still fresh here, which you can tell by the bubbles.

I won't lie, the way it looked like it seeped into the wood hours later made me nervous...
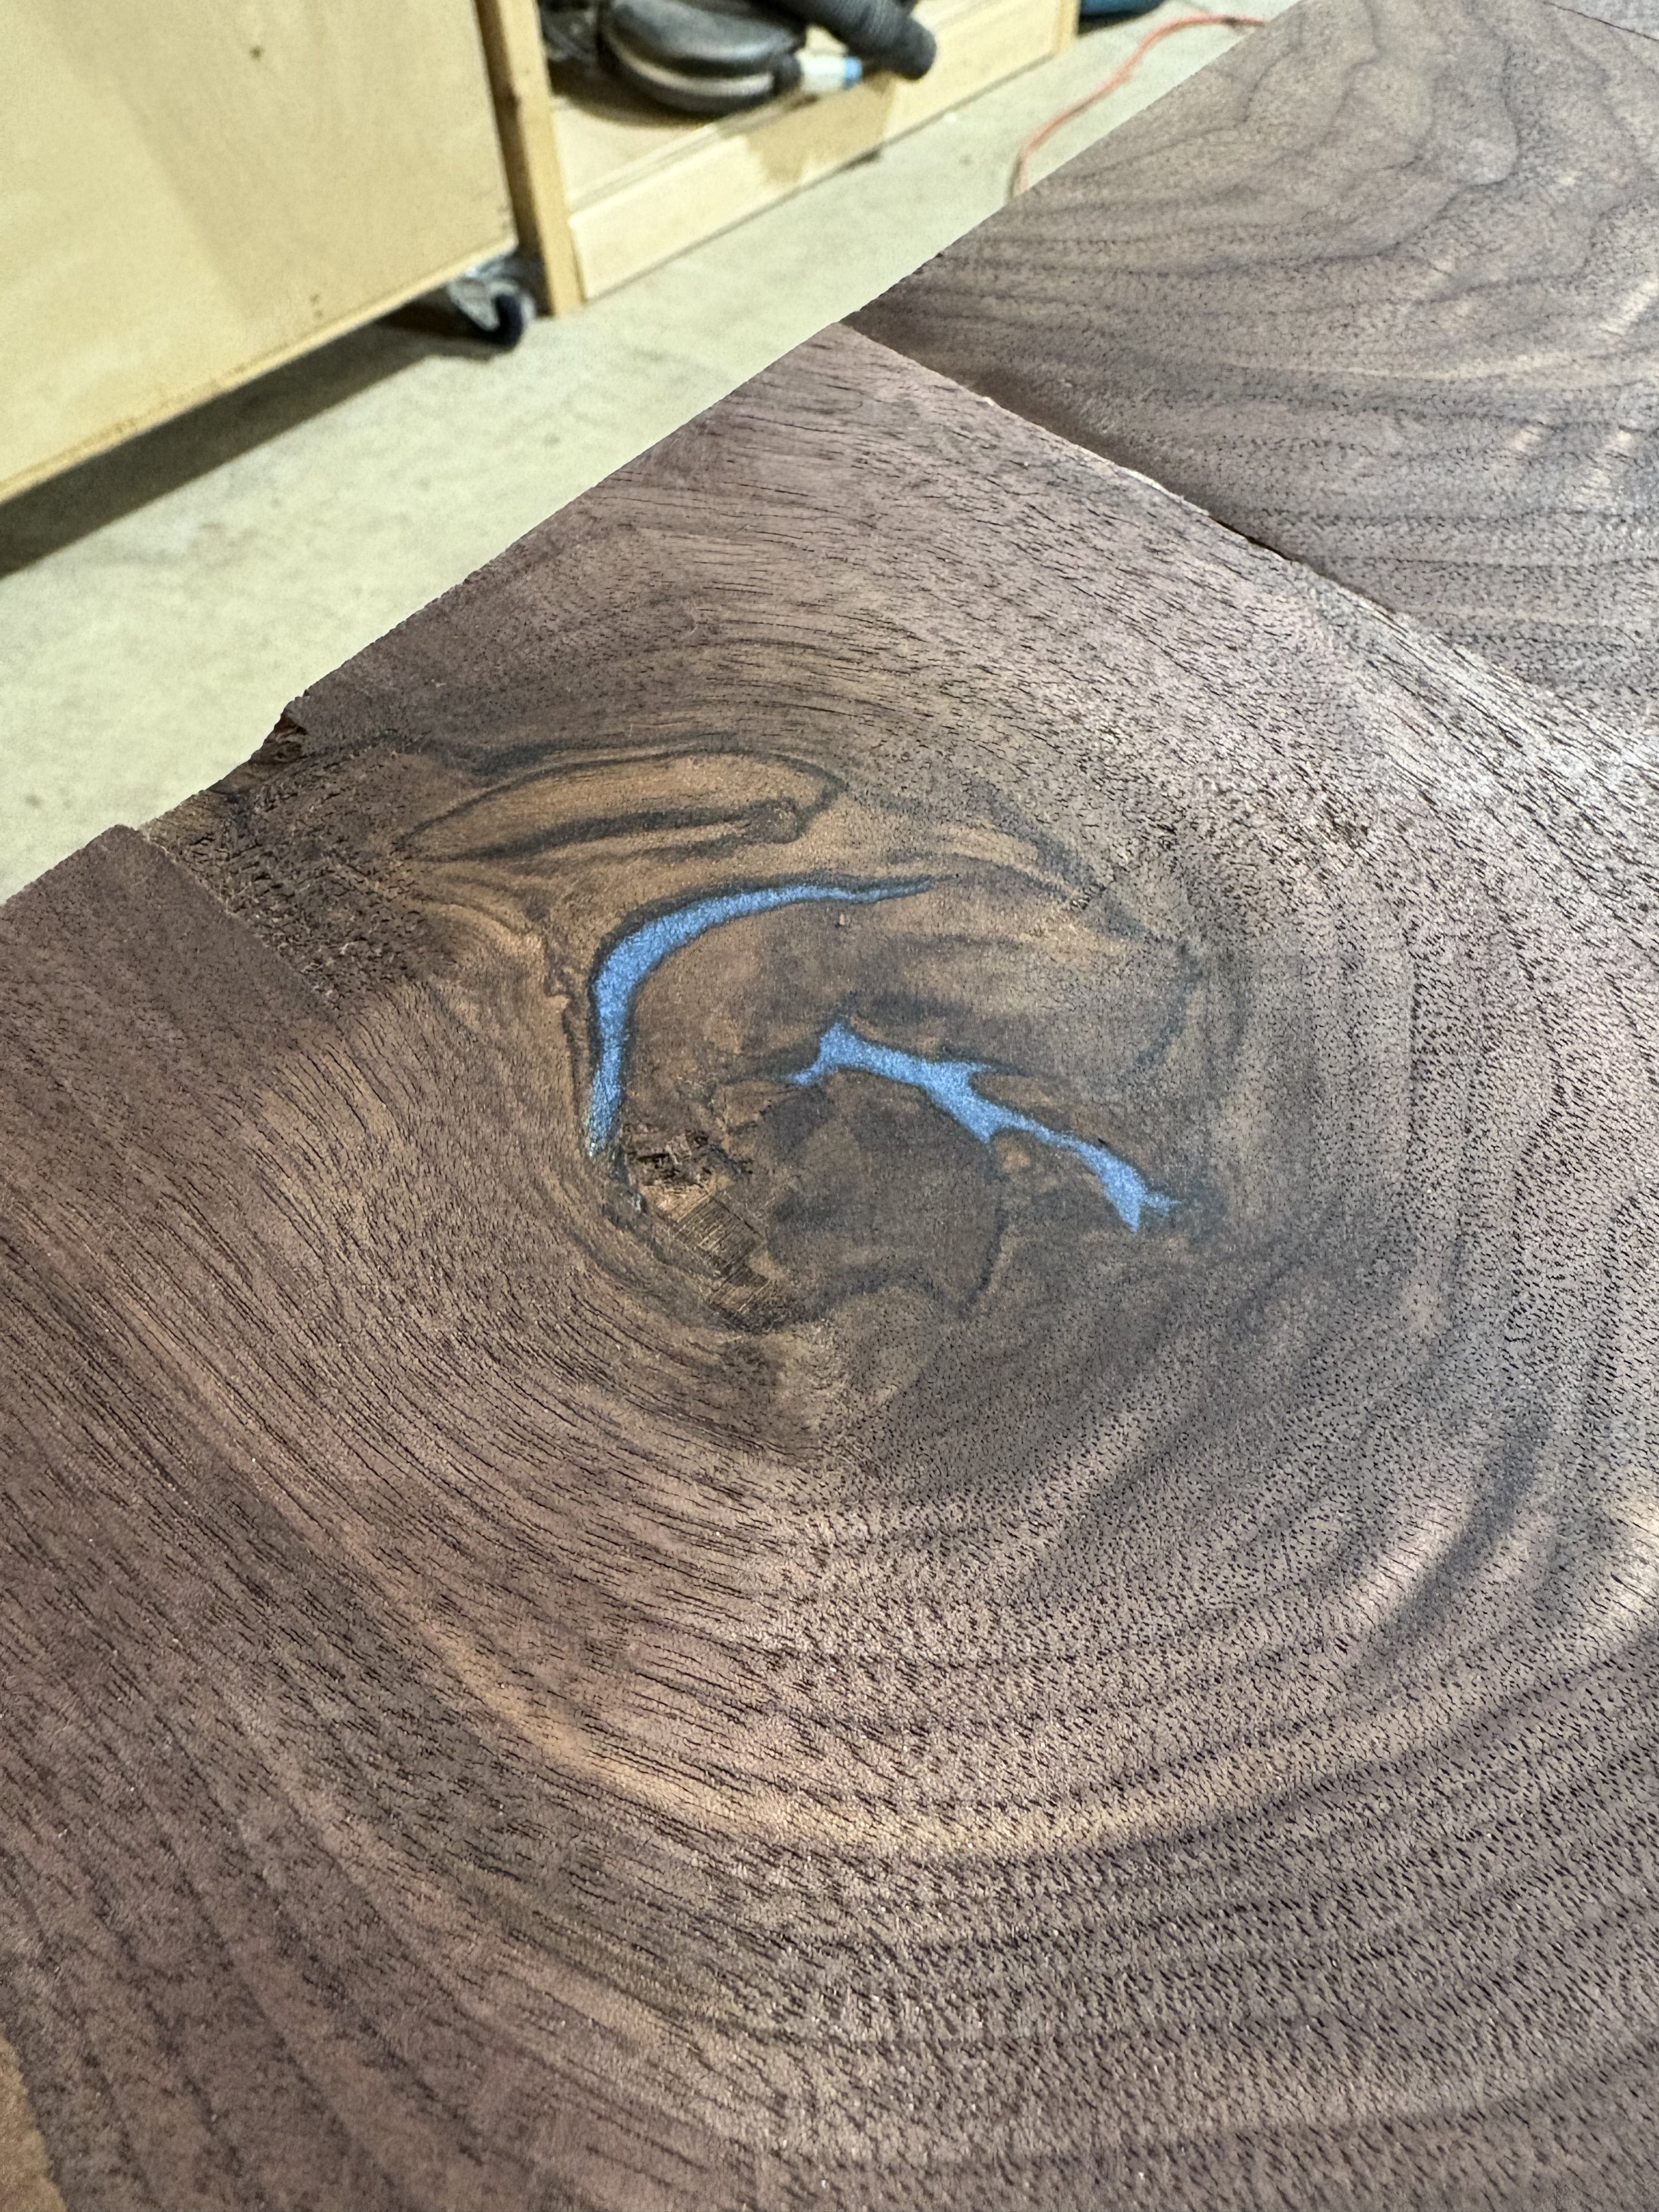
After sanding, the visible portion came out EXACTLY like I hoped it would! This is pre-finish, with some mineral spirits darkening it up for the photo.

The desk spans just over six feet wide and the depth from left to right edges are within 1/32" of square. That IS square for my purposes!

Two days of sanding...
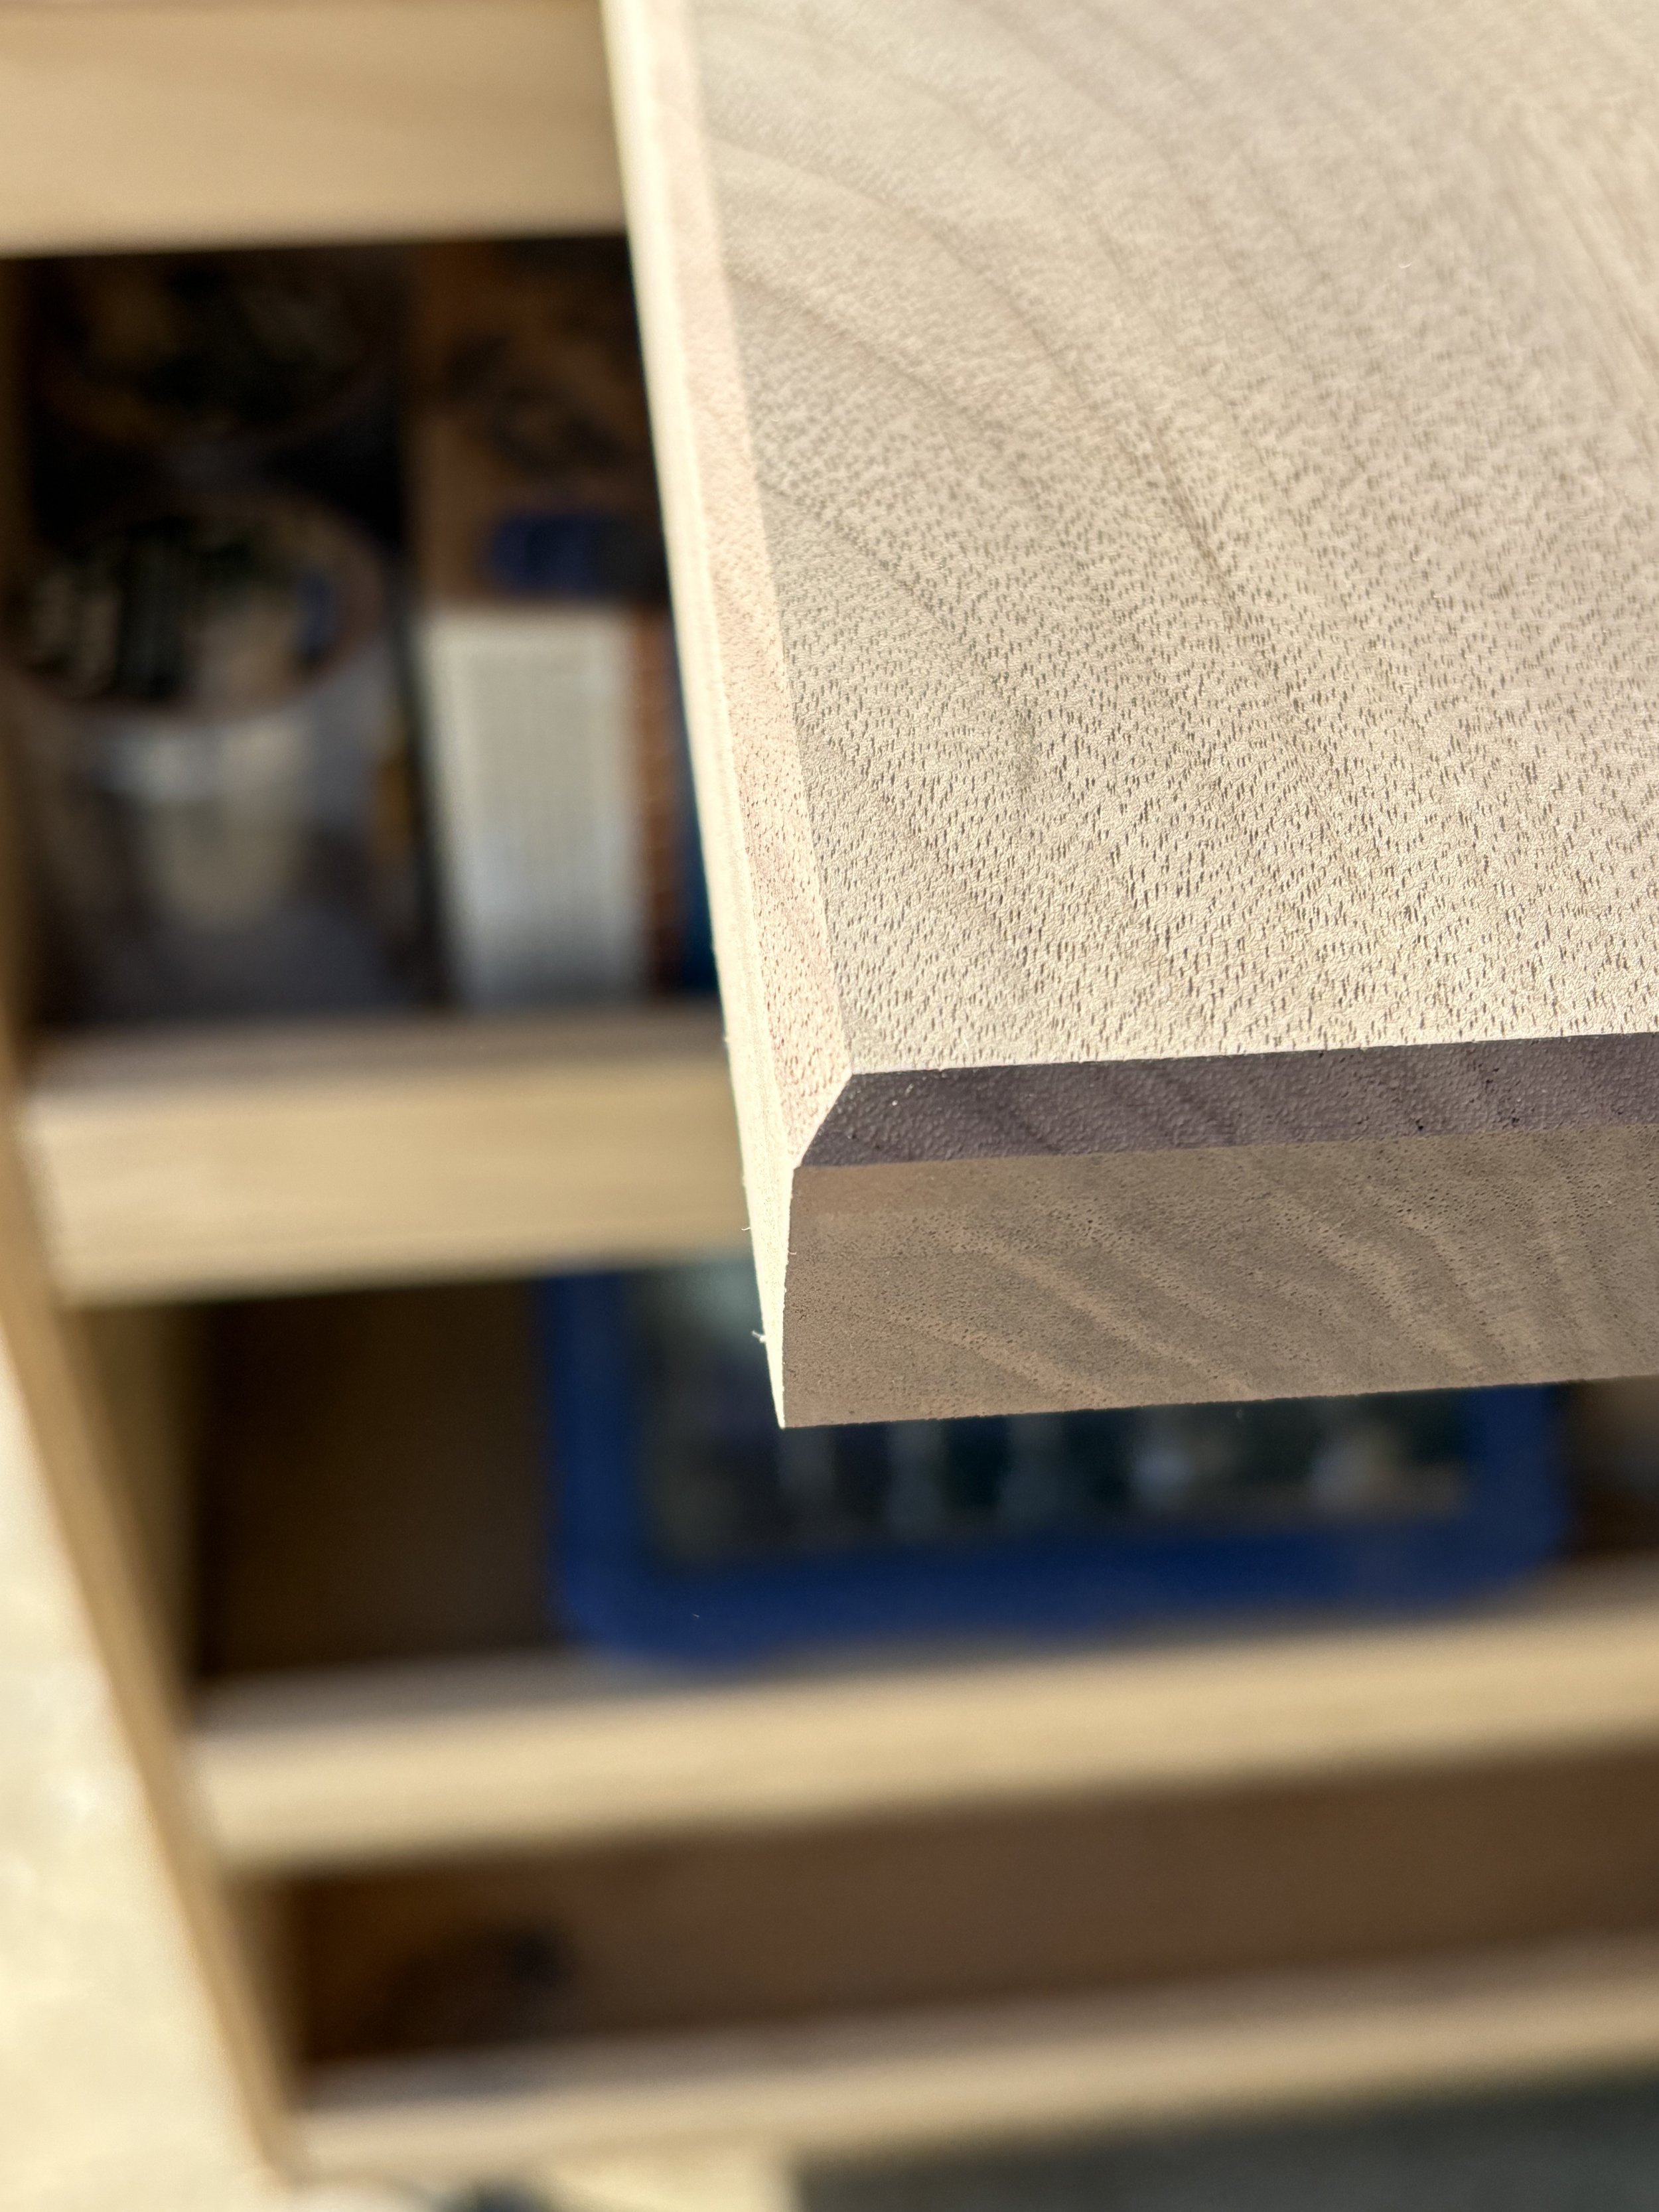
My chamfers came out nice and sharp...

And here she is with the first coat of finish. I went with Rubio Monocoat because I watch woodworkers on YouTube. I like it, but I may wind up doing a second coat. Waiting for it to cure feels like forever, though. Even WITH the accelerator.
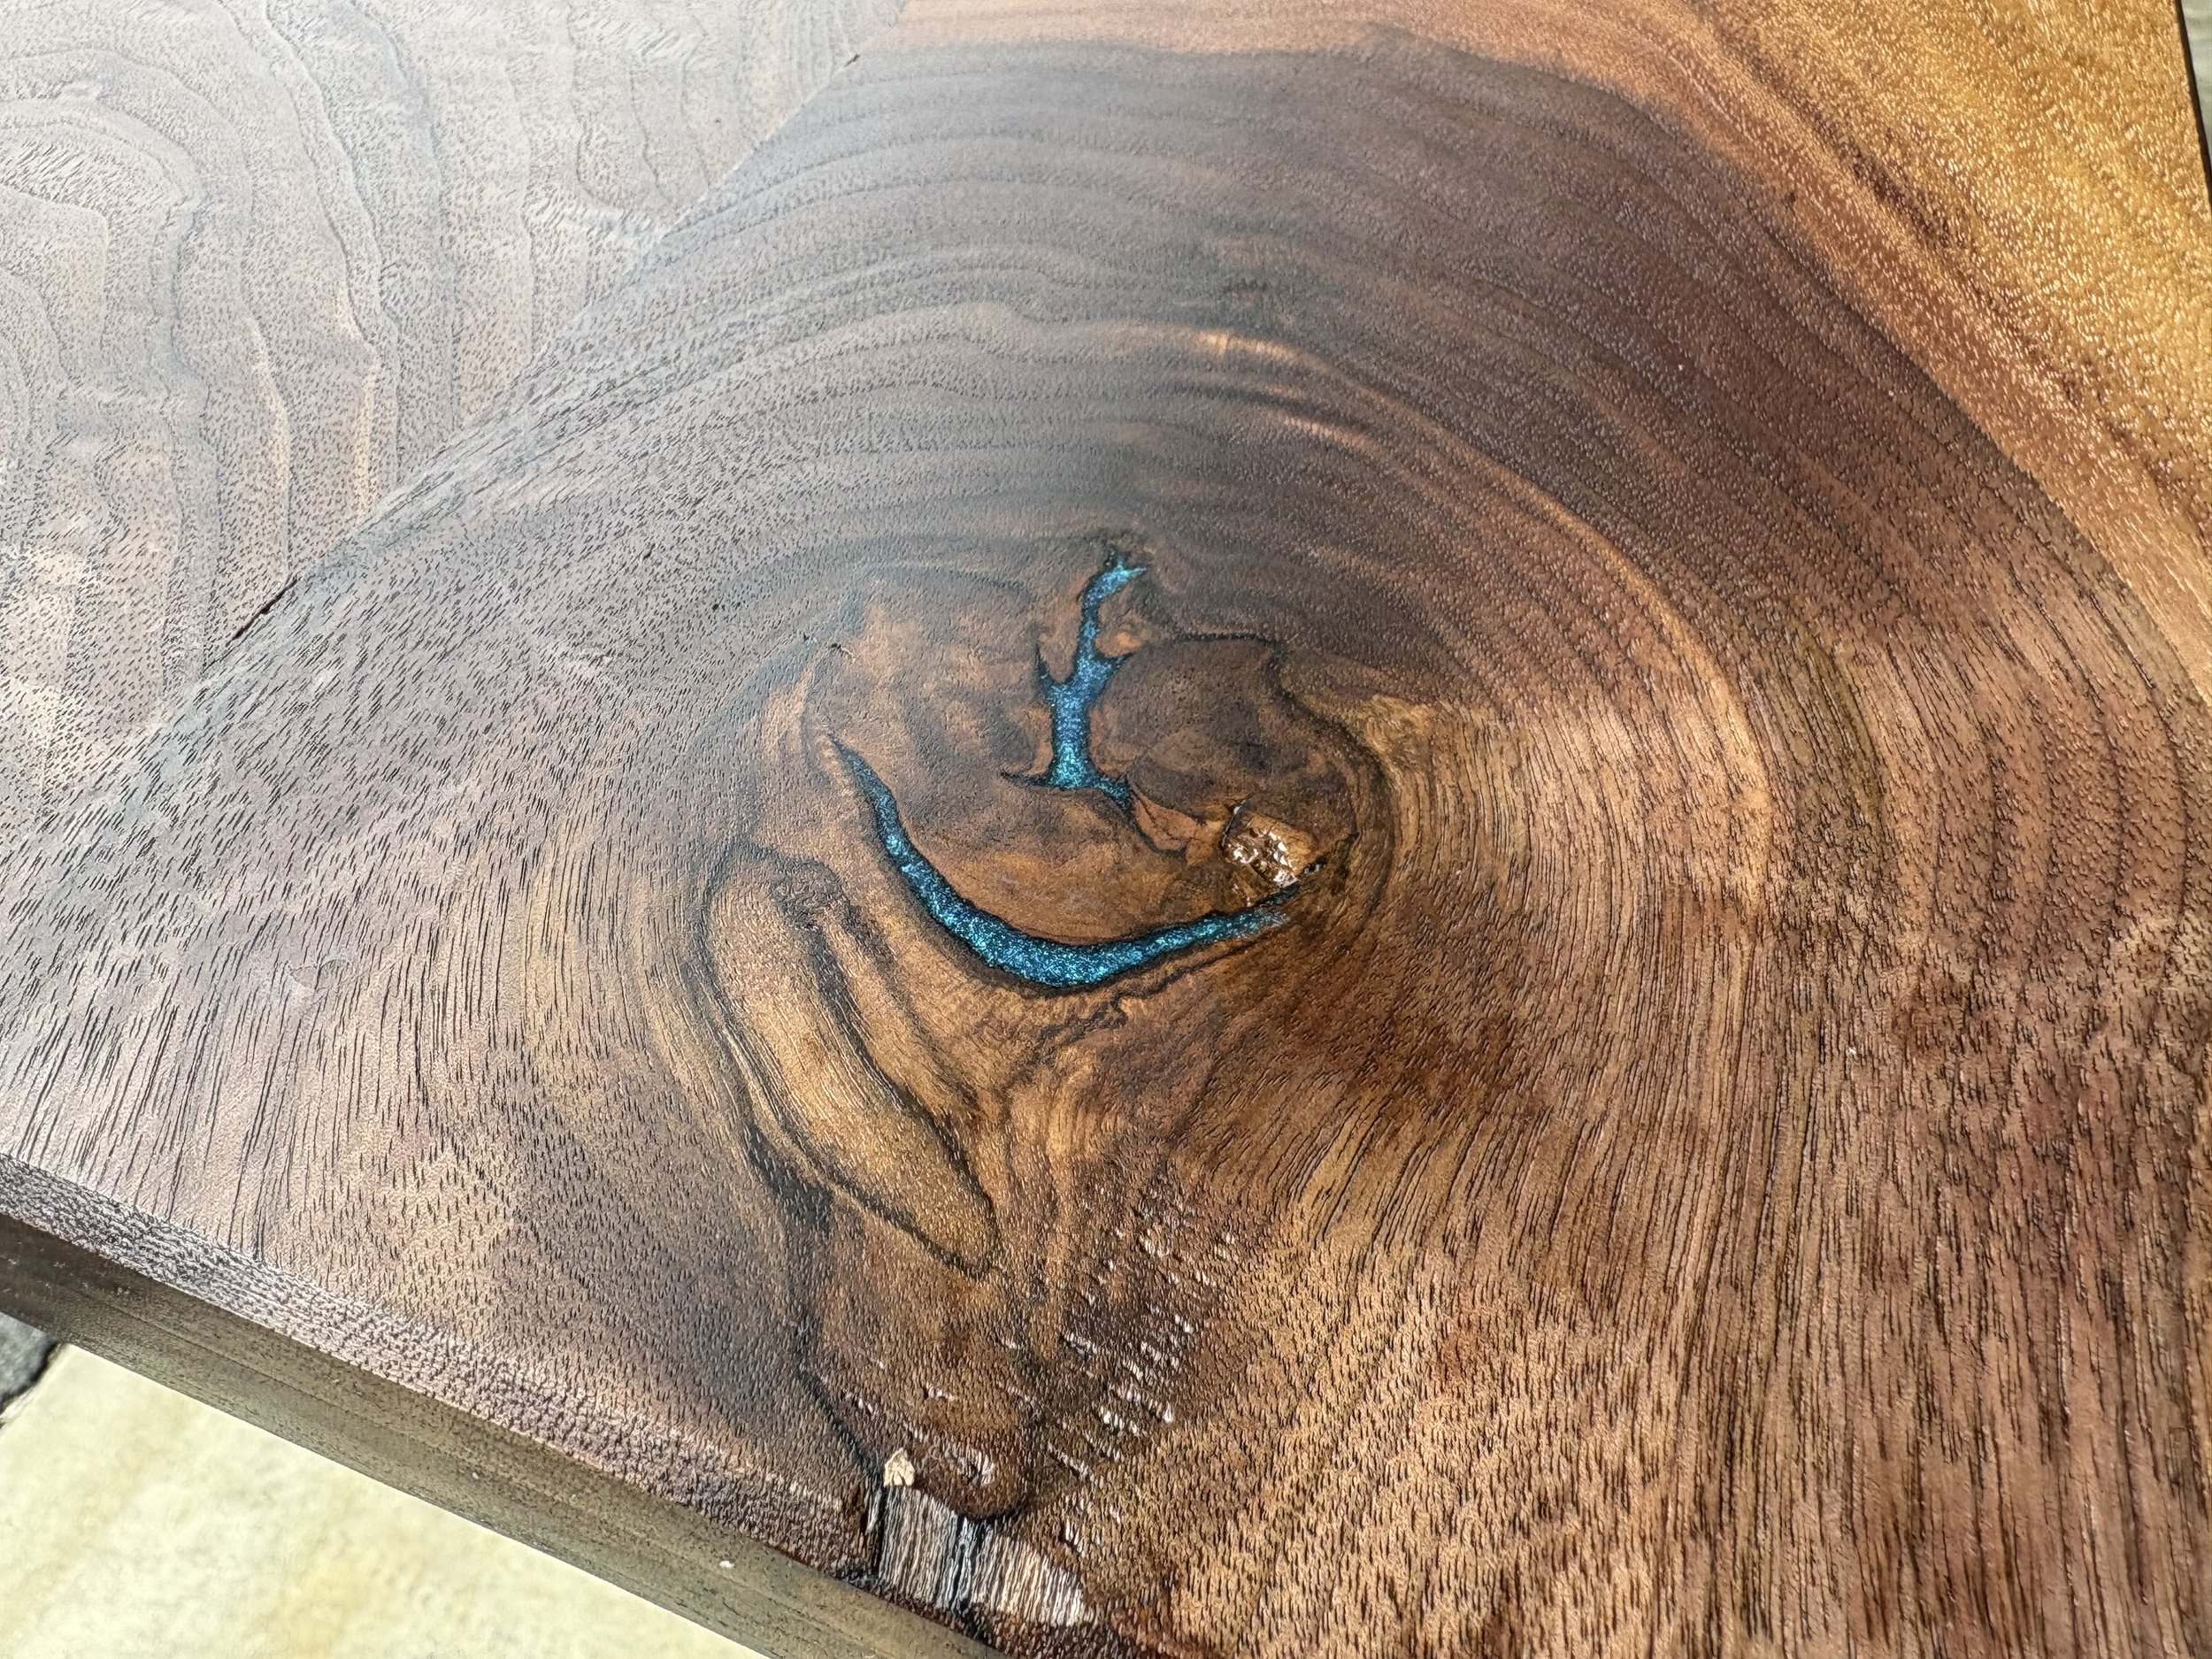
A close-up of the knothole under finish.

And the view from someone sitting at the desk.

Finished, assembled, and laden with my stuff. It gives my 10 more inches inches of depth than my old unit and feels luxurious with all that space.
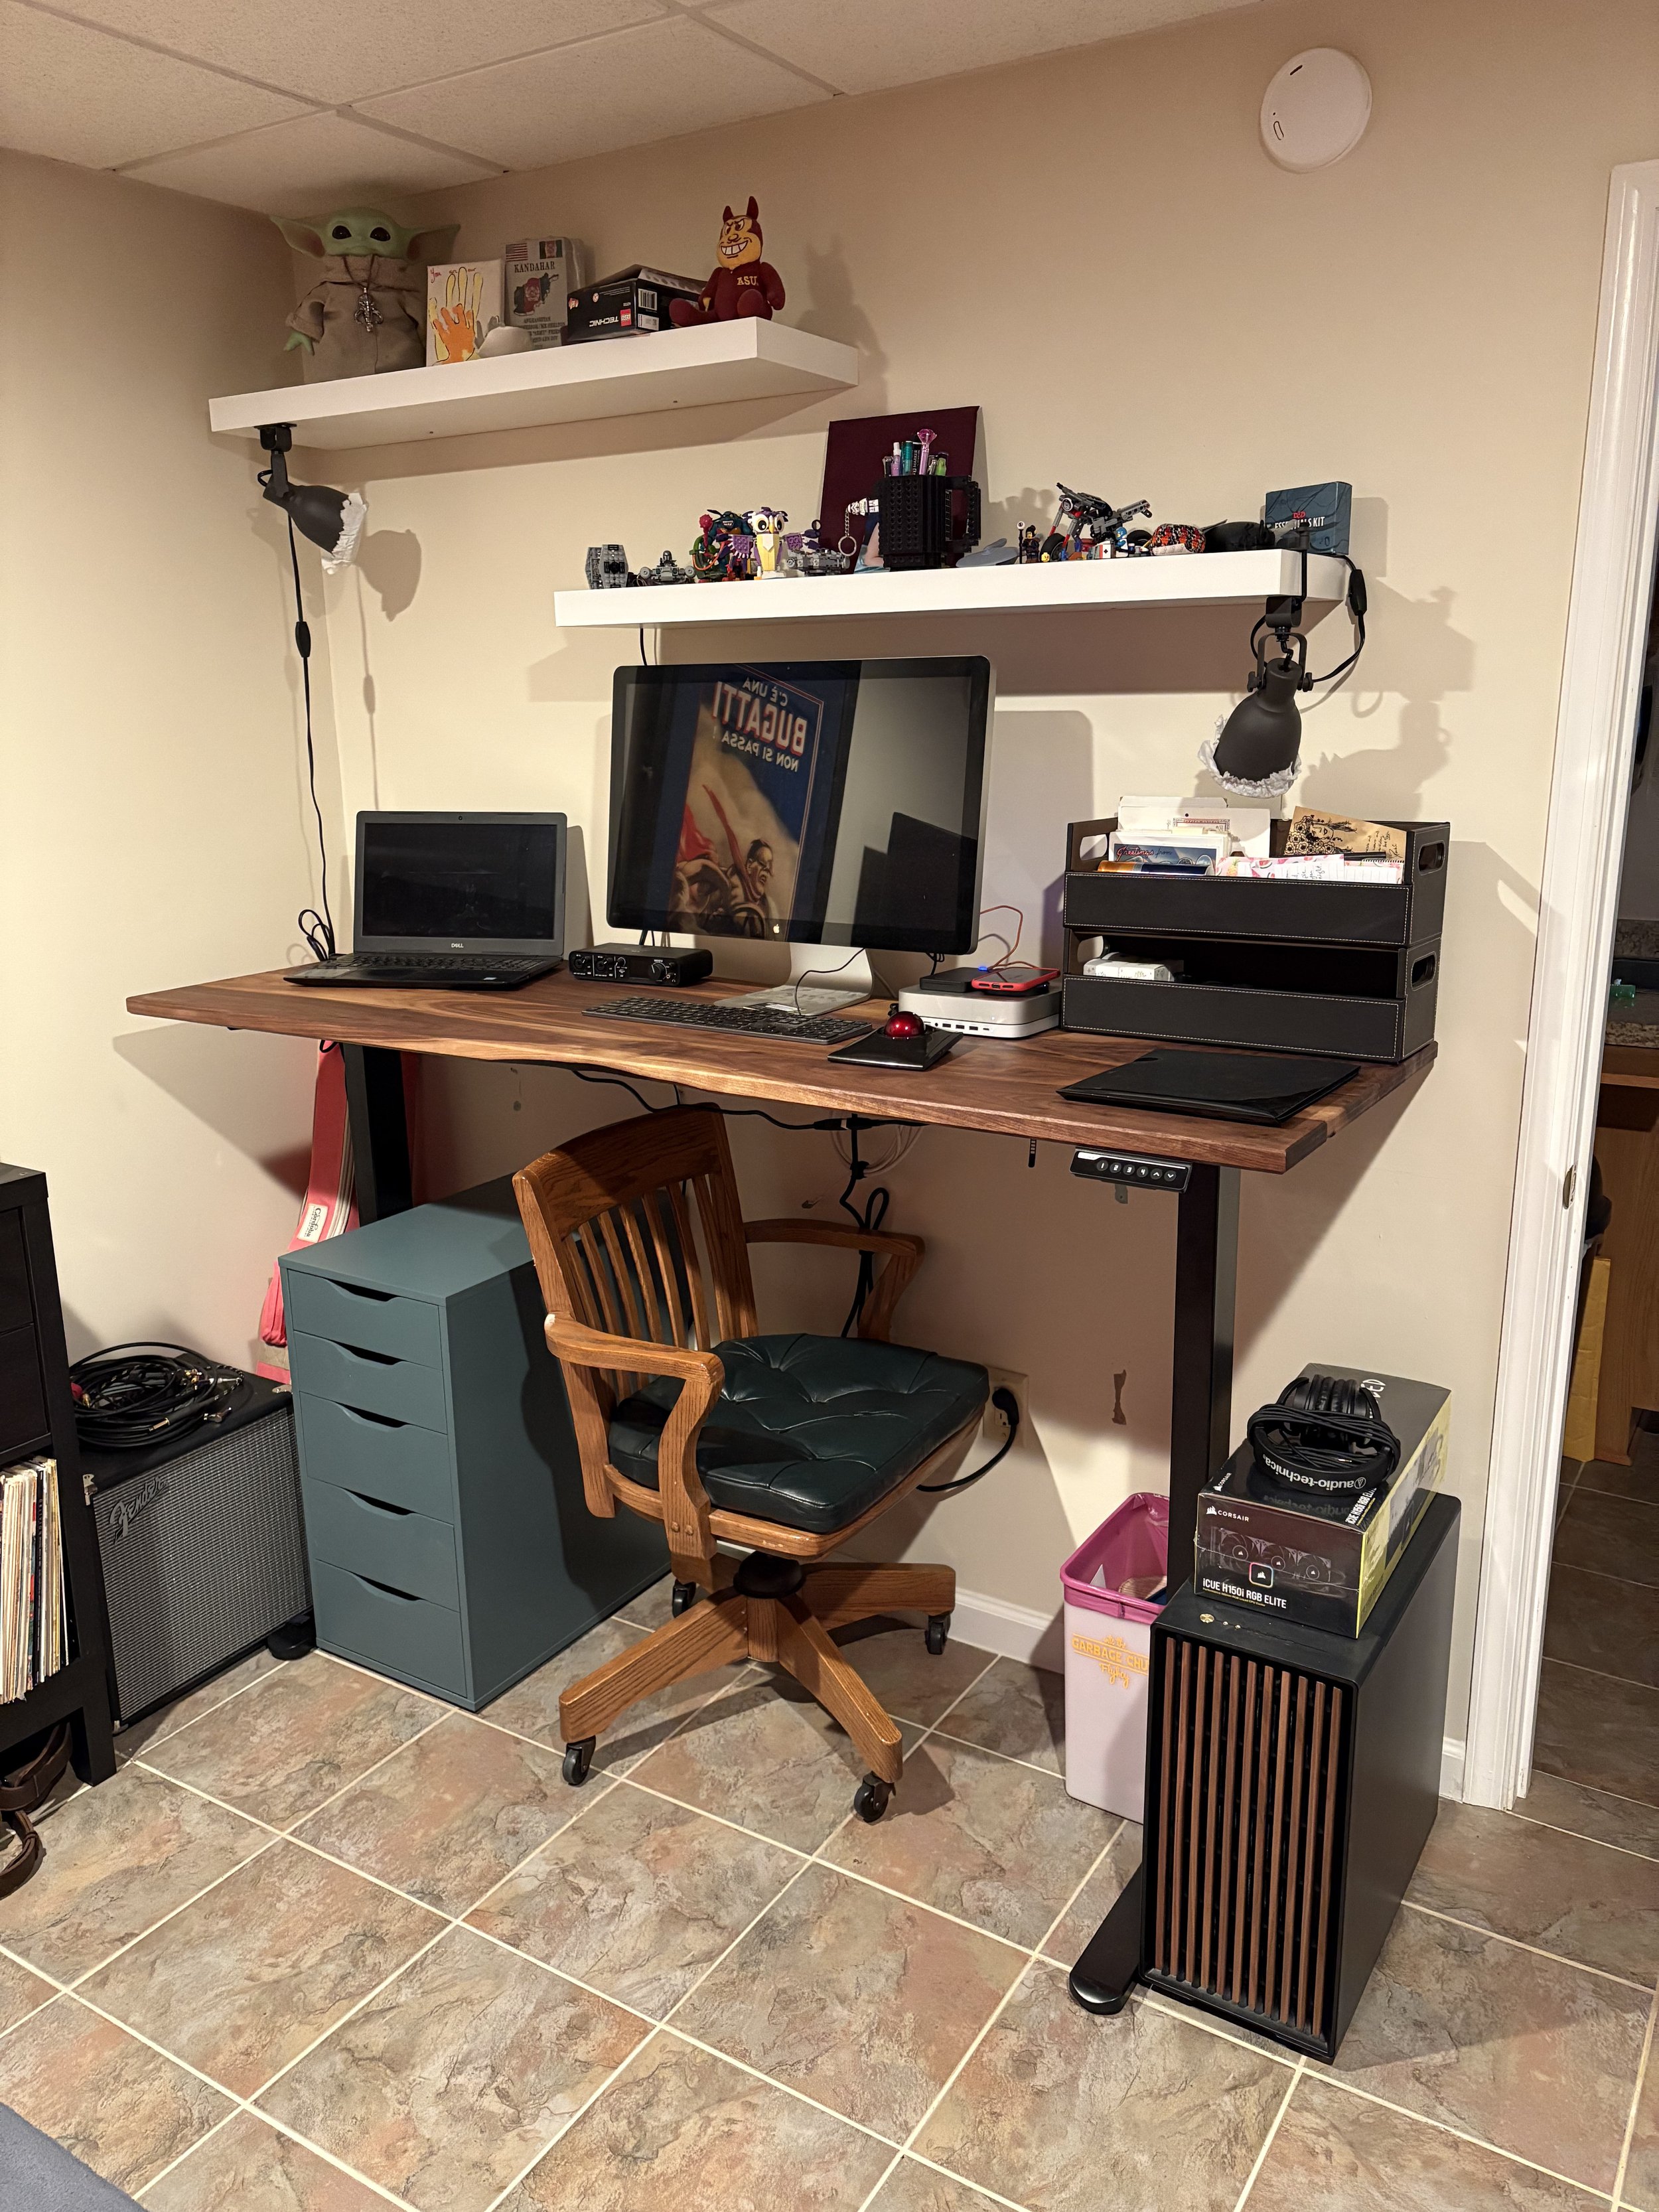
Raised, though now I see a stray cable I need to get under control. My chair can slide under the desk while I stand and I still have easy access to my amp so I can plug in and play with ease.